
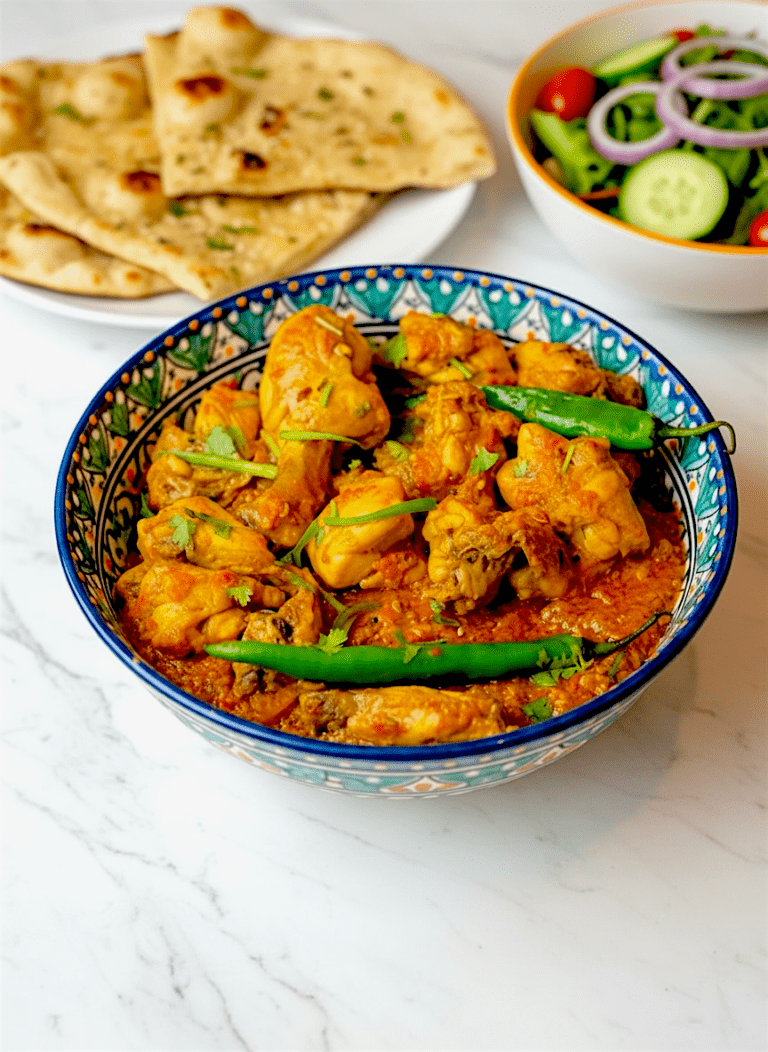
Of course, you’ve probably heard of Chicken Curry before, but let me tell you exactly which one I’m talking about. This is the traditional Pakistani Chicken Curry, also known as Chicken Salan or Murgh Shorba. It’s one of the most popular Pakistani chicken recipes and a dish that’s made in homes all across Pakistan.
While every family has its own little twist, this is the classic version of Pakistani Chicken Curry that many families prepare for everyday meals.
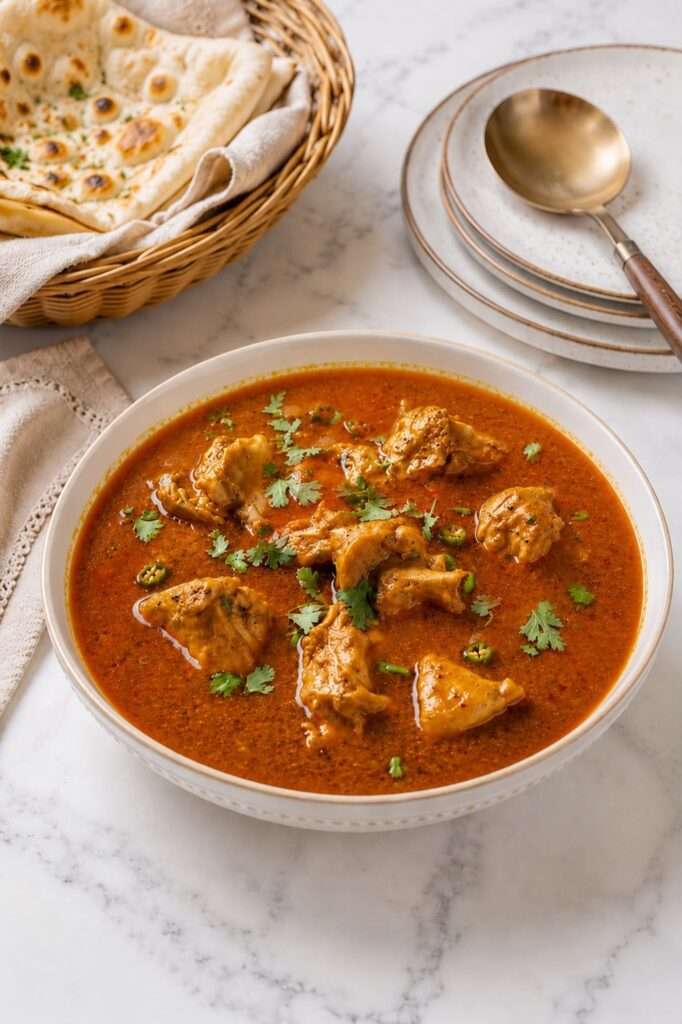
What I love most about this recipe is that you don’t need any fancy ingredients or ready-made spice mixes. Just a few basic spices, fresh tomatoes, onions, and chicken come together to make a rich and delicious shorba that’s perfect with roti or rice.
Whether you call it Chicken Curry, Chicken Salan, or Murgh Shorba, it’s one of those timeless Pakistani recipes that never goes out of style. It’s comforting, easy to make, and always a family favorite.
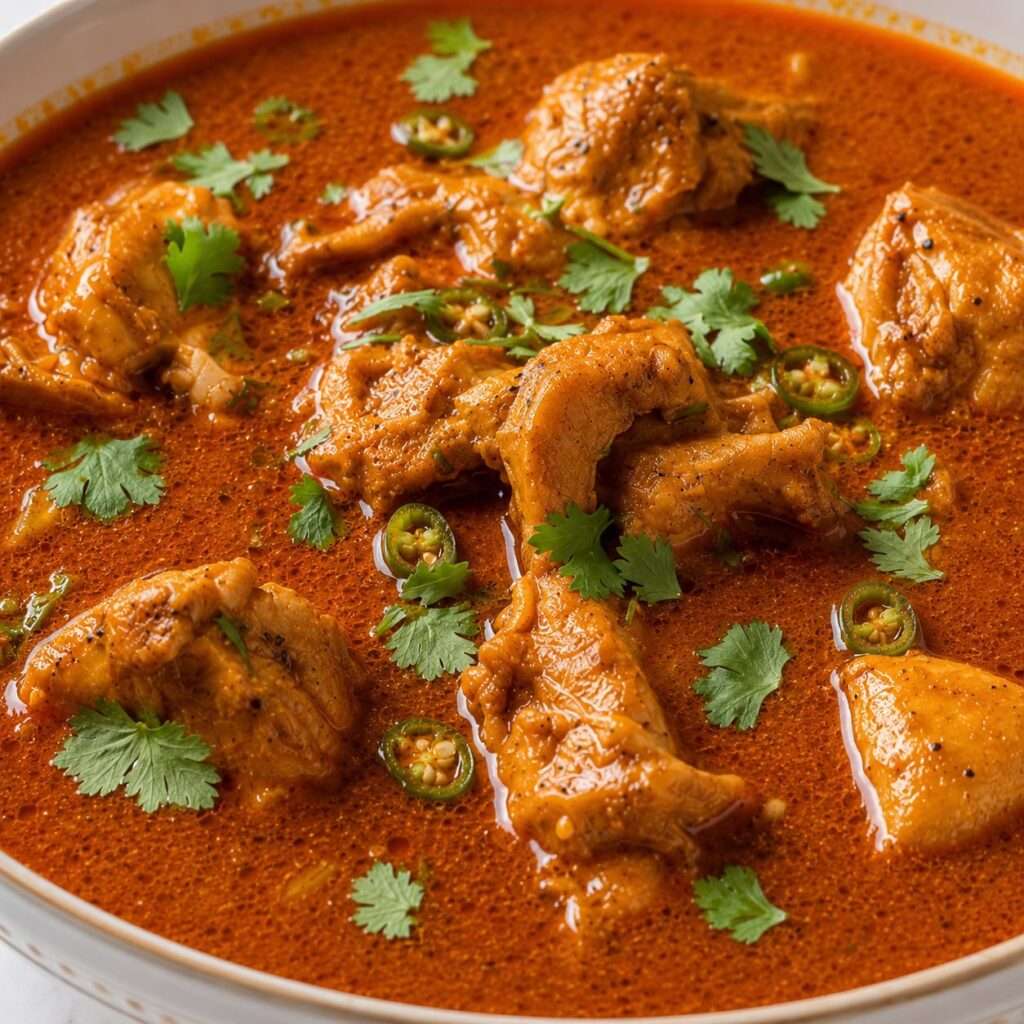
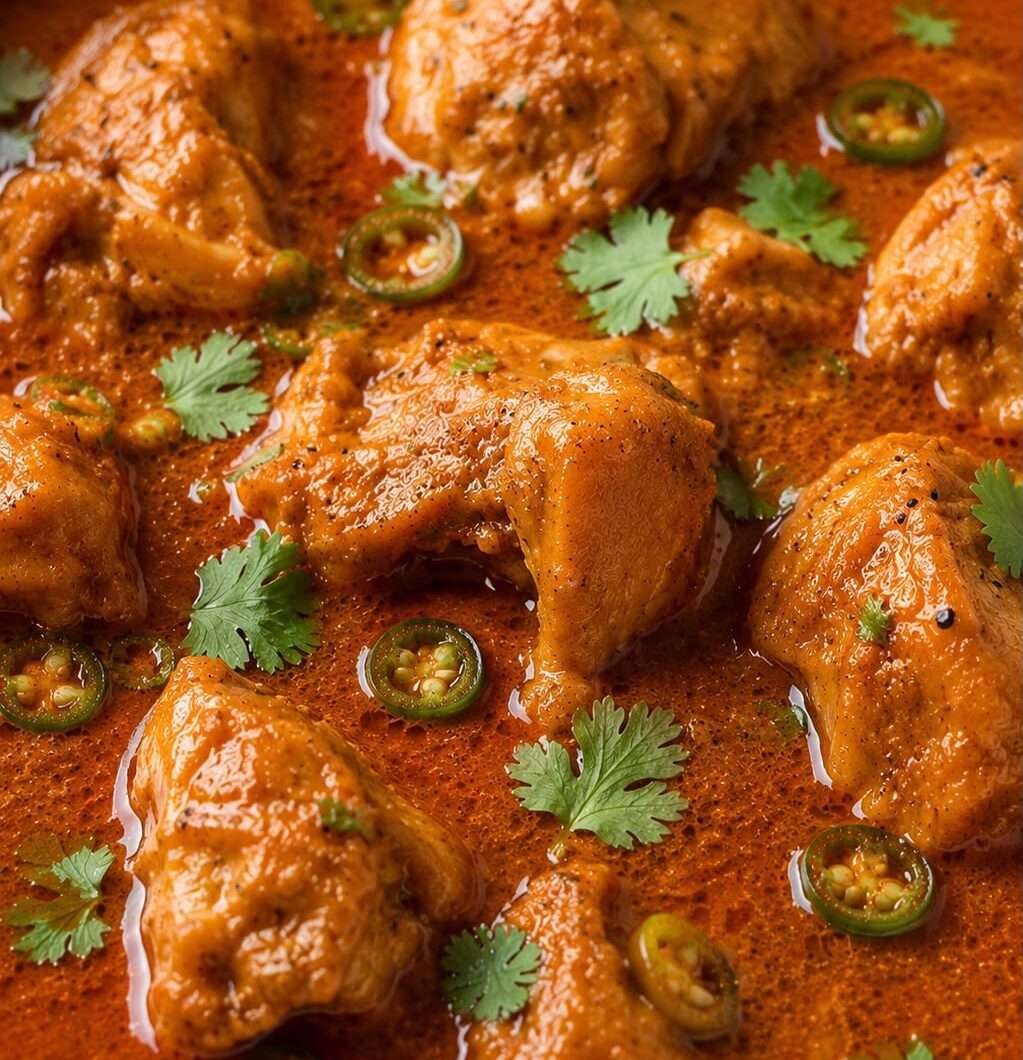
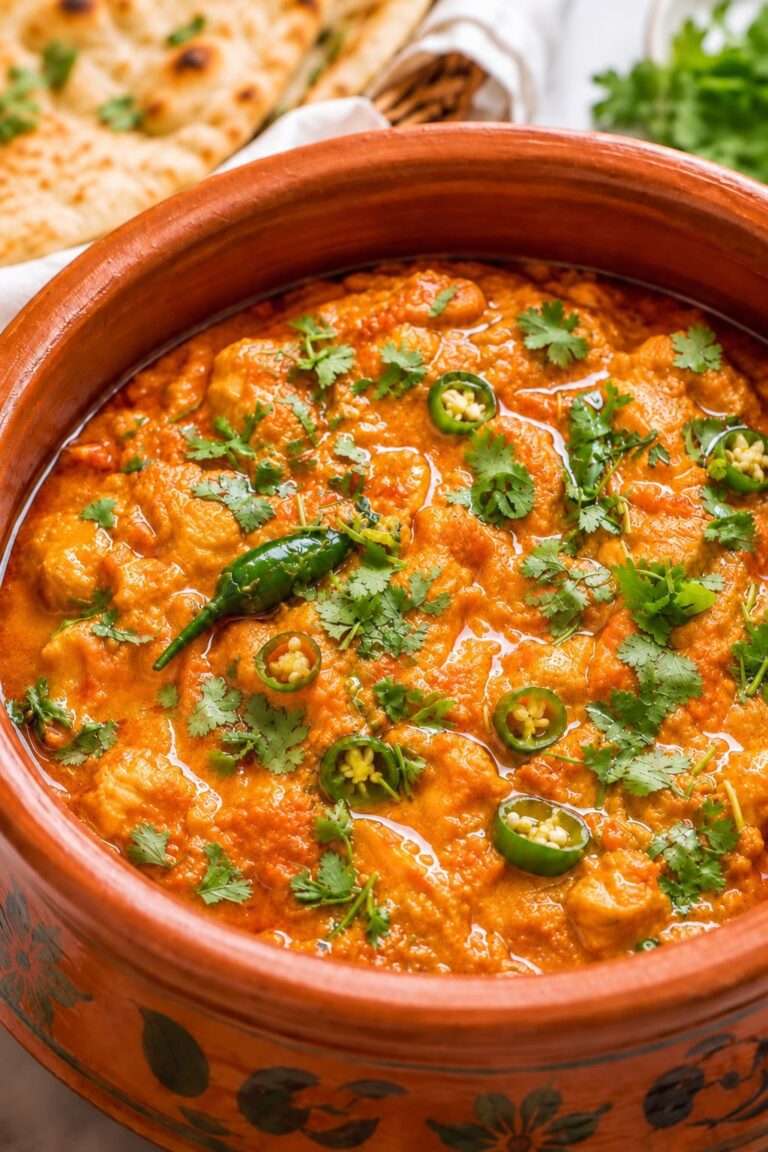
OMG, just look at the consistency of the curry!
Why You’ll Love This Recipe
If you’re looking for authentic chicken recipes from Pakistan, this chicken salan is a great place to start. Why? Because:
- Easy to prepare with everyday ingredients.
- Full of authentic Pakistani flavors.
- Perfect for both weekday dinners and family gatherings.
- Ready without any complicated cooking techniques.
- Delicious with roti or pulao.
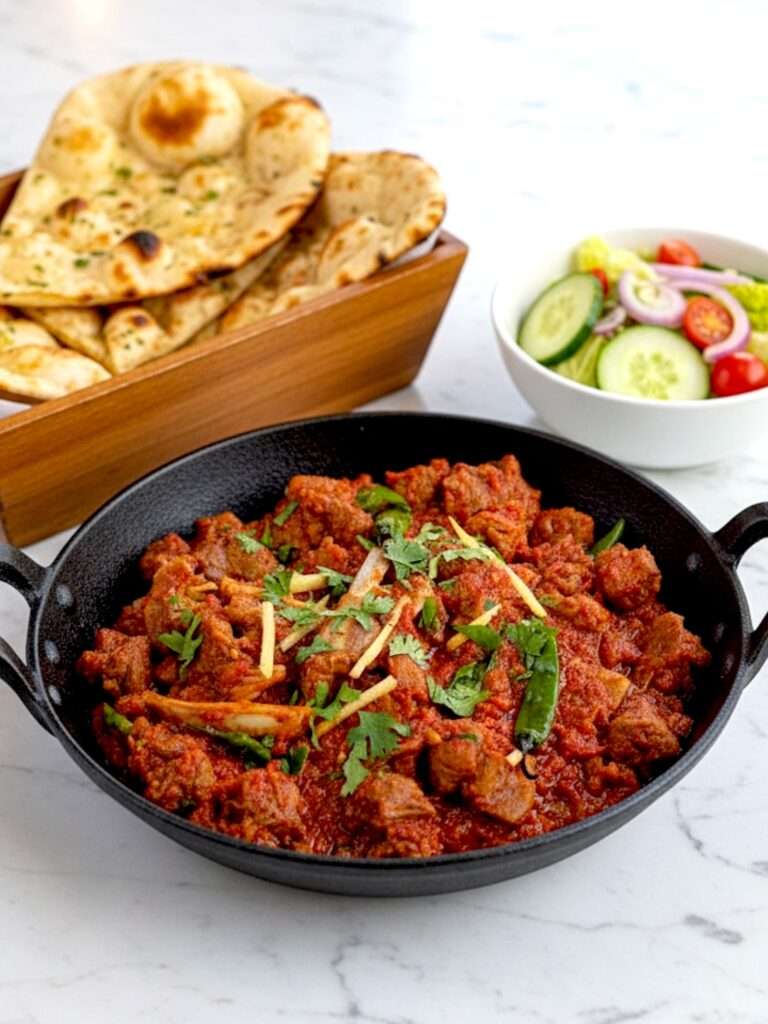
If you enjoy traditional Pakistani curries, you might also love my Kabab Karahi recipe.
Ingredient Notes
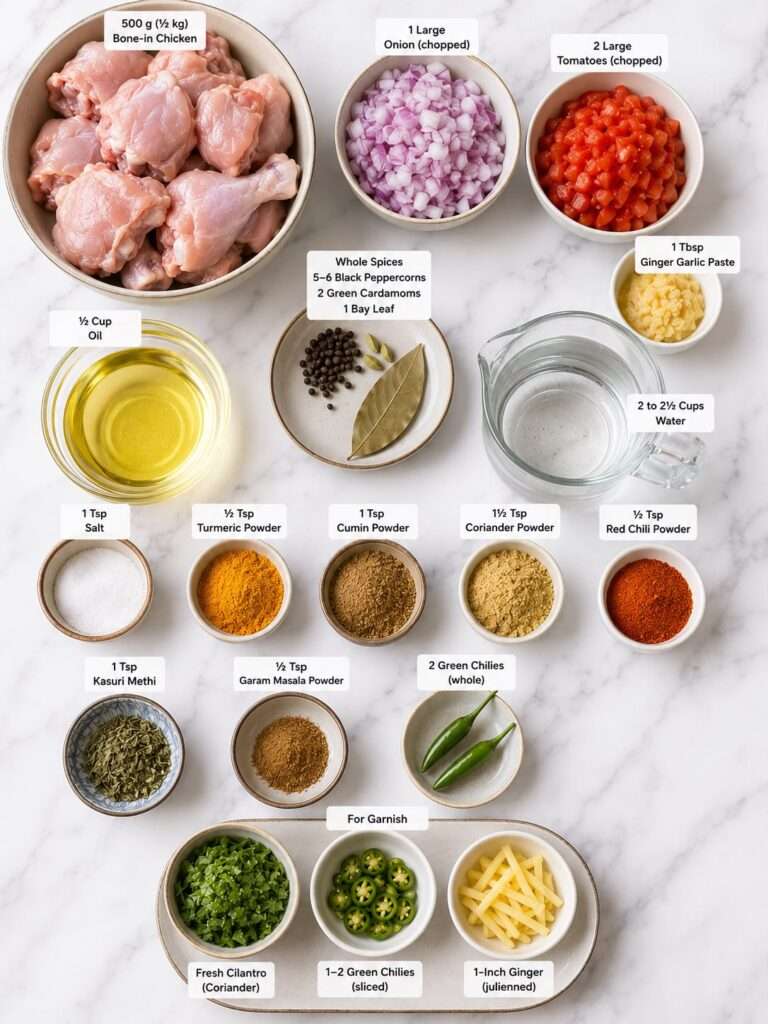
- Chicken: I recommend using karahi-cut chicken (small pieces) for this recipe. Smaller pieces cook evenly, stay juicy, and absorb the flavors of the gravy much better than large pieces.
- Oil or Ghee: You can make this curry with either oil or ghee. I usually use oil for everyday cooking, but if you want a richer, more traditional flavor, ghee is a great choice.
- Onion: Use finely chopped onion. Cooking the onion until it’s lightly golden is one of the key steps for making a flavorful curry.
- Ginger Garlic Paste: Fresh ginger garlic paste gives the best flavor and aroma. It’s a staple in Pakistani cooking, so I wouldn’t recommend replacing it.
- Tomatoes: Use ripe, juicy red tomatoes for the best results. They give the curry a naturally rich gravy and beautiful color.
- Ground Spices: This recipe uses simple, everyday spices like salt, red chili powder, turmeric, coriander powder, and cumin powder. These are the basic spices that give Pakistani chicken curry its classic flavor.
- Whole Spices: You only need a few whole spices to add a lovely aroma to the curry. I use: black peppercorn, green cardamom and bay leaf (crushed or whole).
- Water: Add enough water to make the gravy just the way you like it. Use a little less if you prefer a thicker curry, or a little more if you enjoy a thinner, soupier shorba.
- Garnish: Don’t skip the garnish! Fresh coriander, sliced green chilies, and julienned ginger add freshness to the salan. They make the curry taste even better and give it that authentic homemade look.
How To Make Pakistani Chicken Curry (Step-By-Step Photo Guide)
Step 1:
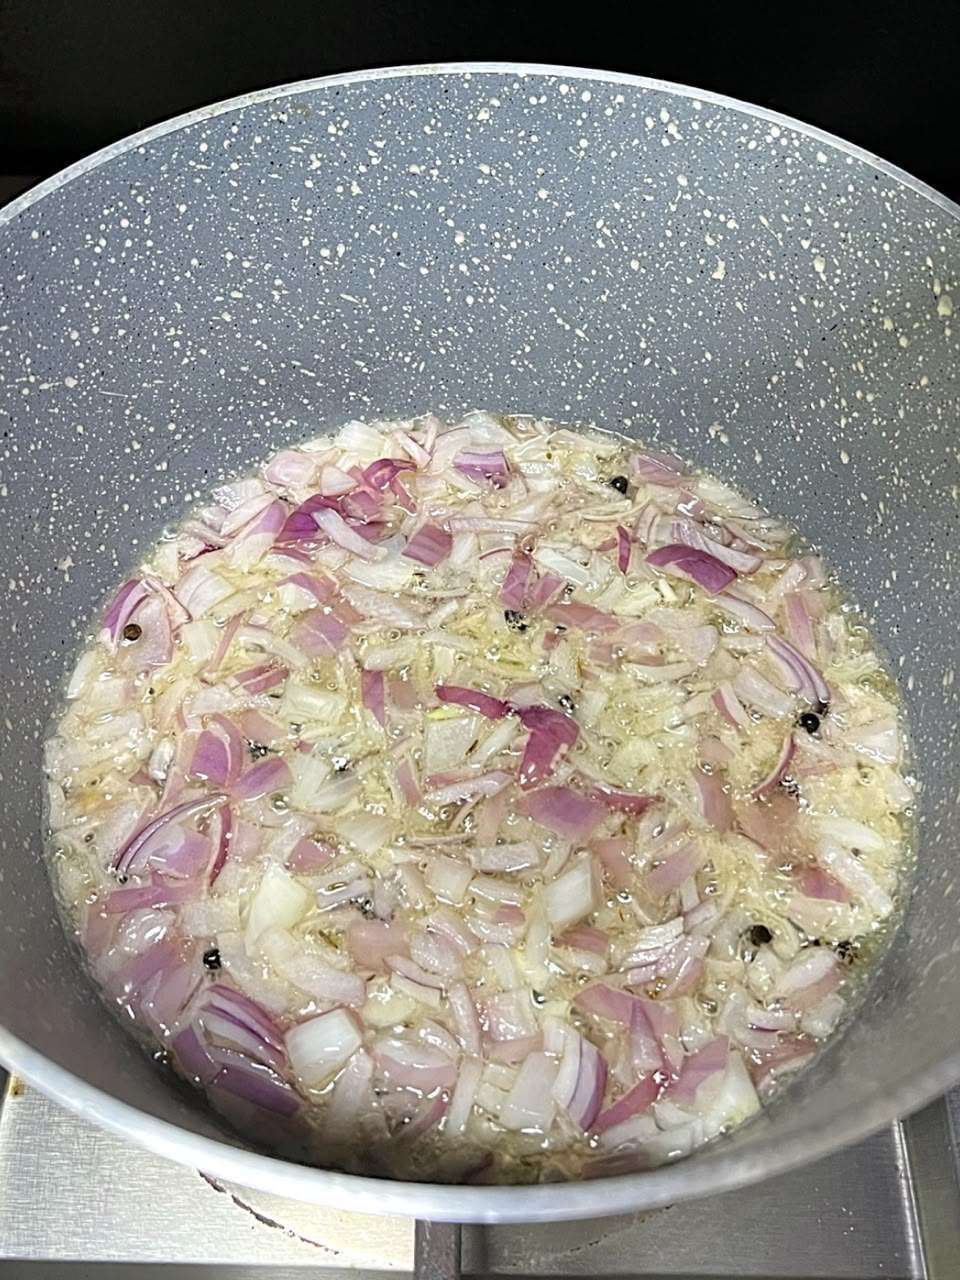
Heat the oil in a large pan over medium heat. Add the finely chopped onion and cook until it turns light golden brown. Don’t let it get too dark, or the curry can taste bitter.
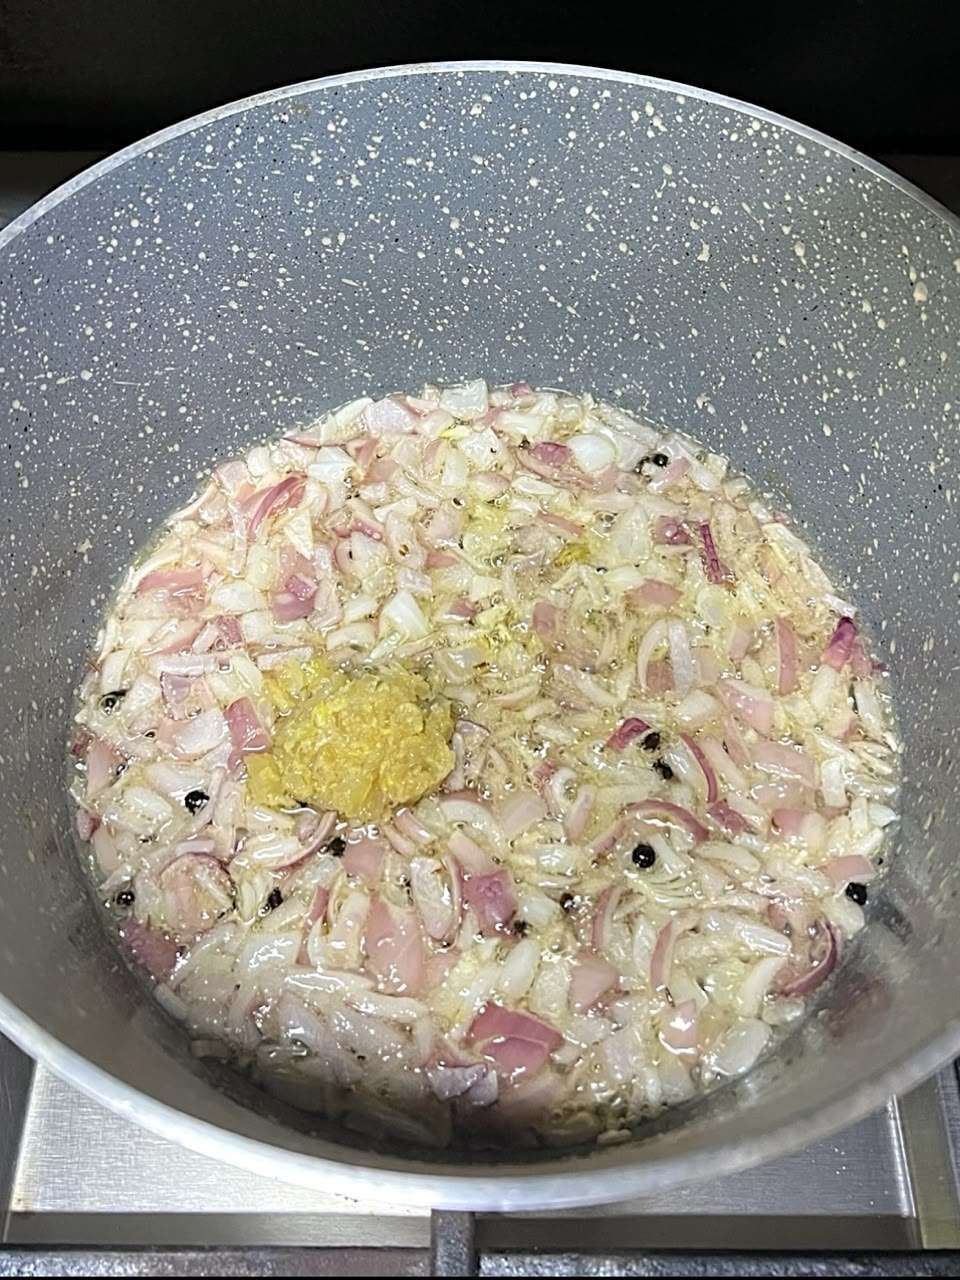
Stir in the ginger garlic paste and cook for about 30–60 seconds, just until the raw smell disappears.
Step 2:
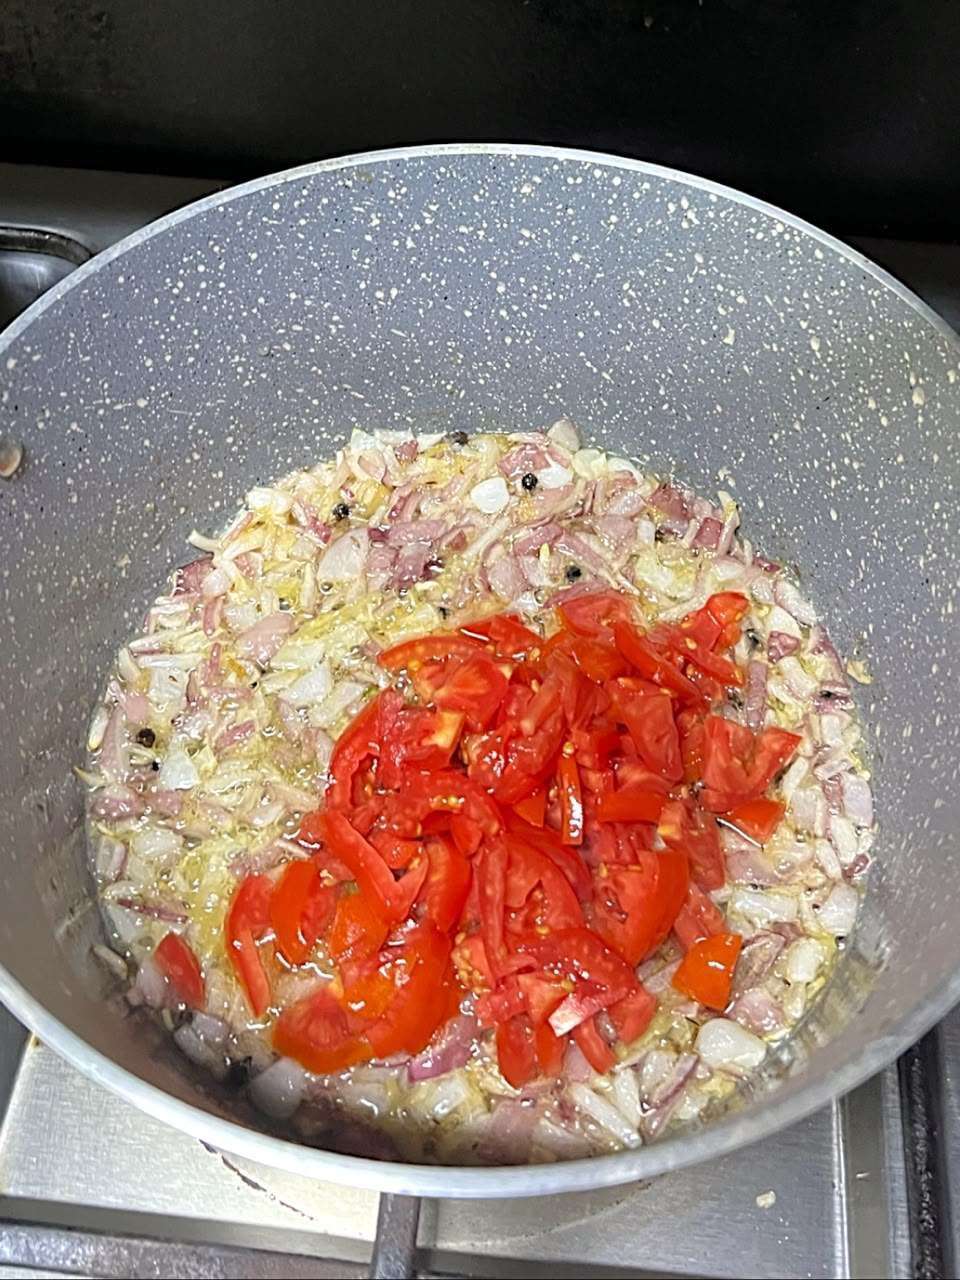
Add the chopped tomatoes and mix well. Cook for about 2 minutes.
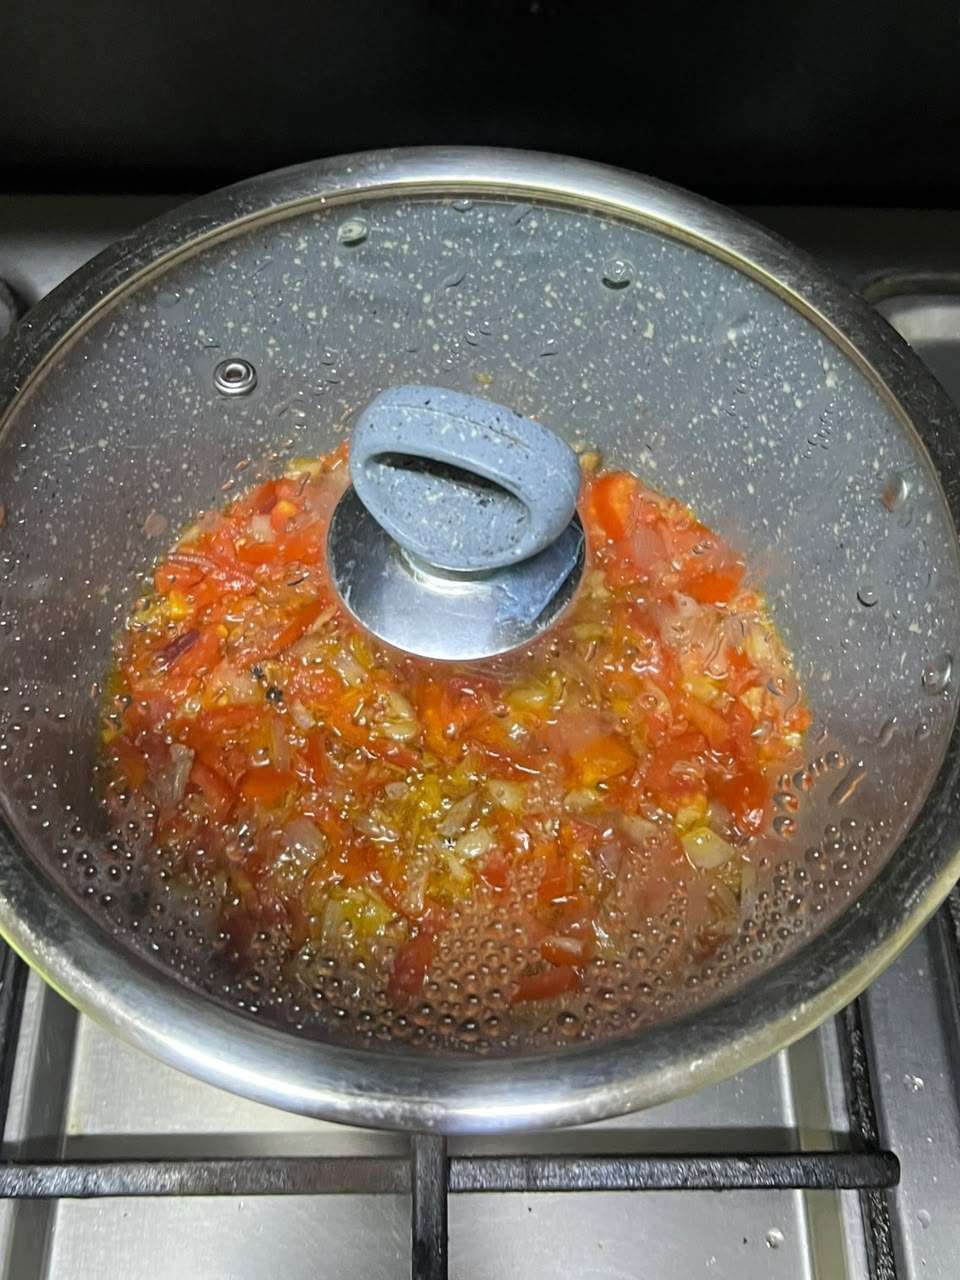
Cover the pan with a lid for another 2–3 minutes. This helps the tomatoes soften and release their juices, making them much easier to blend.
Step 3:
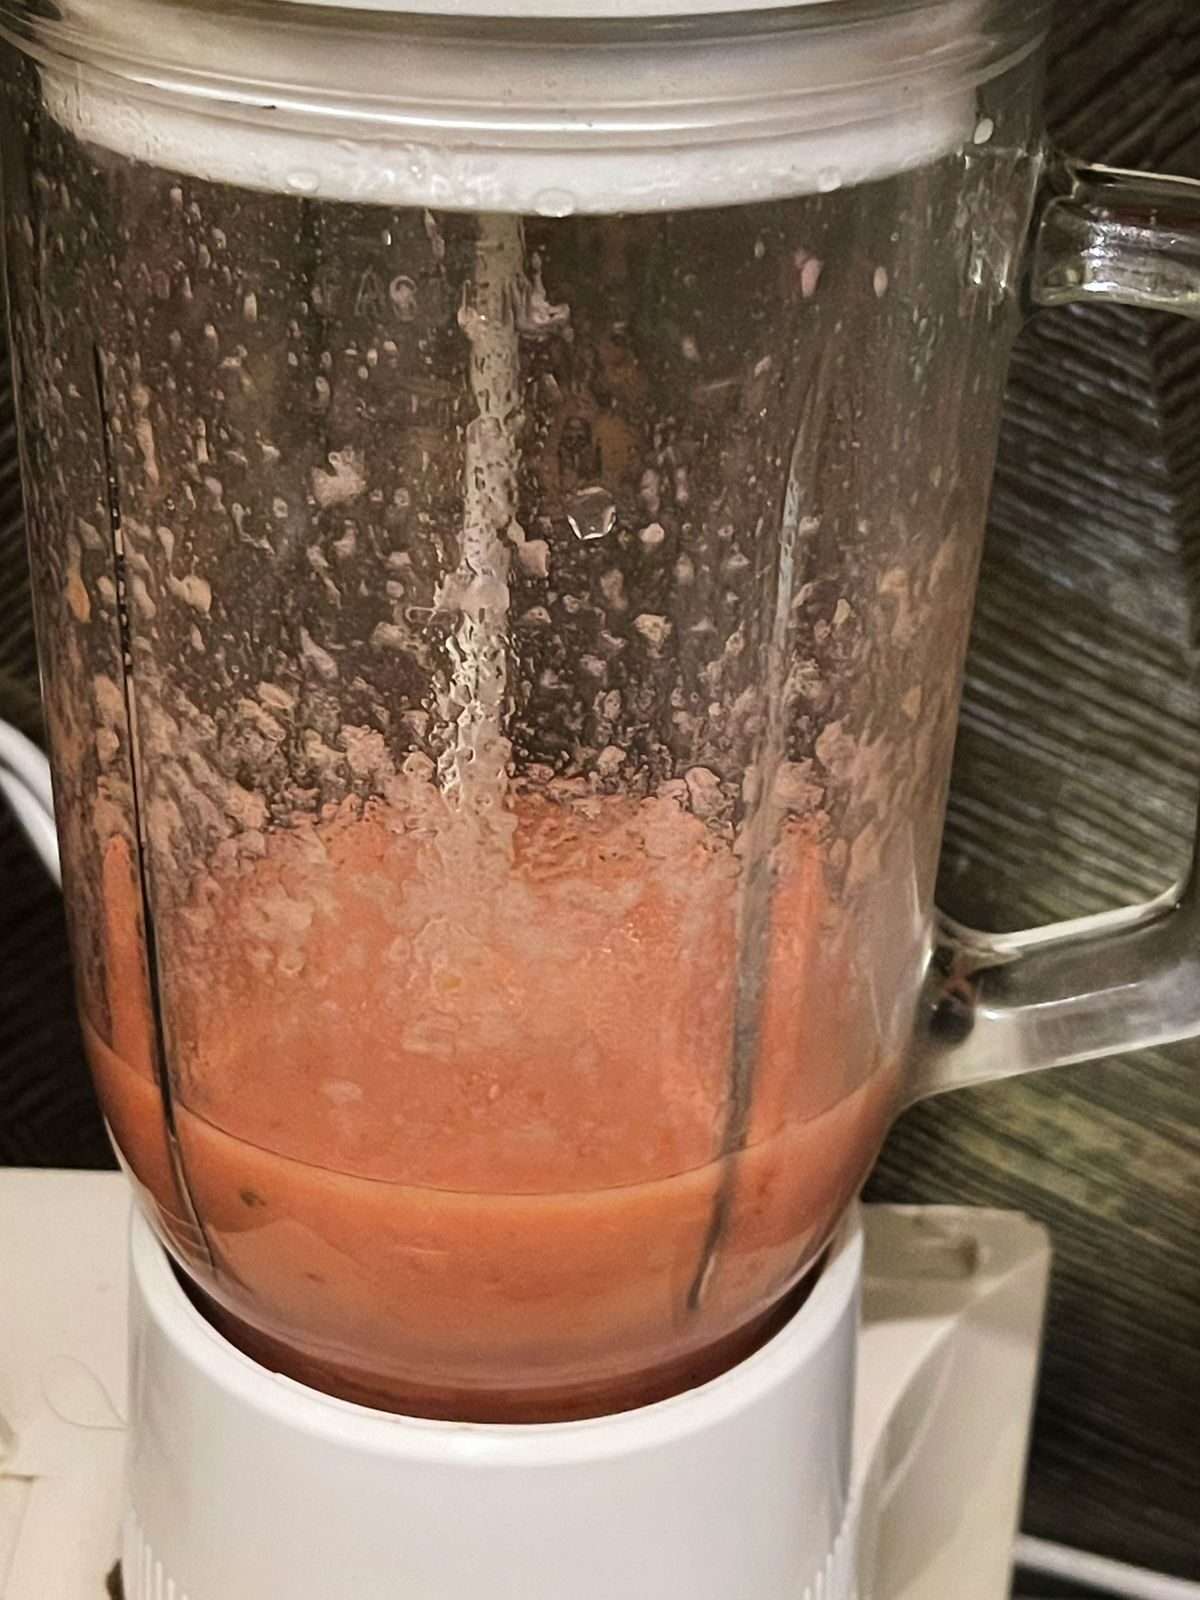
Transfer the cooked onions and tomatoes to a blender, or use a hand blender if you have one. Blend everything until you have a smooth puree.
This is one step I never skip because it’s what gives the curry its smooth, rich gravy.
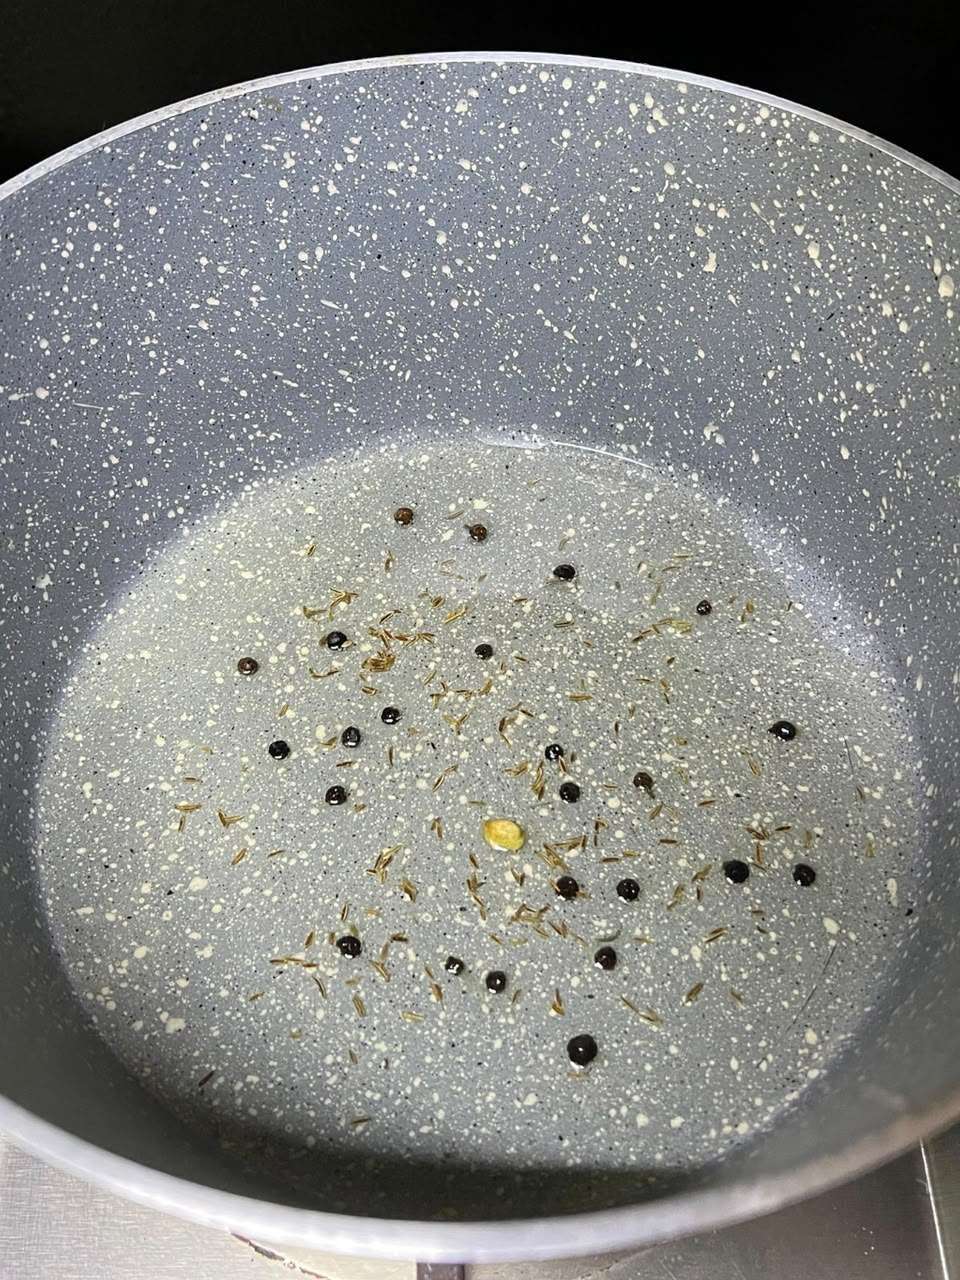
Add the black peppercorns and a green cardamom to the remaining oil in the same pan. Let the whole spices sizzle for about a minute until fragrant.
Step 4:
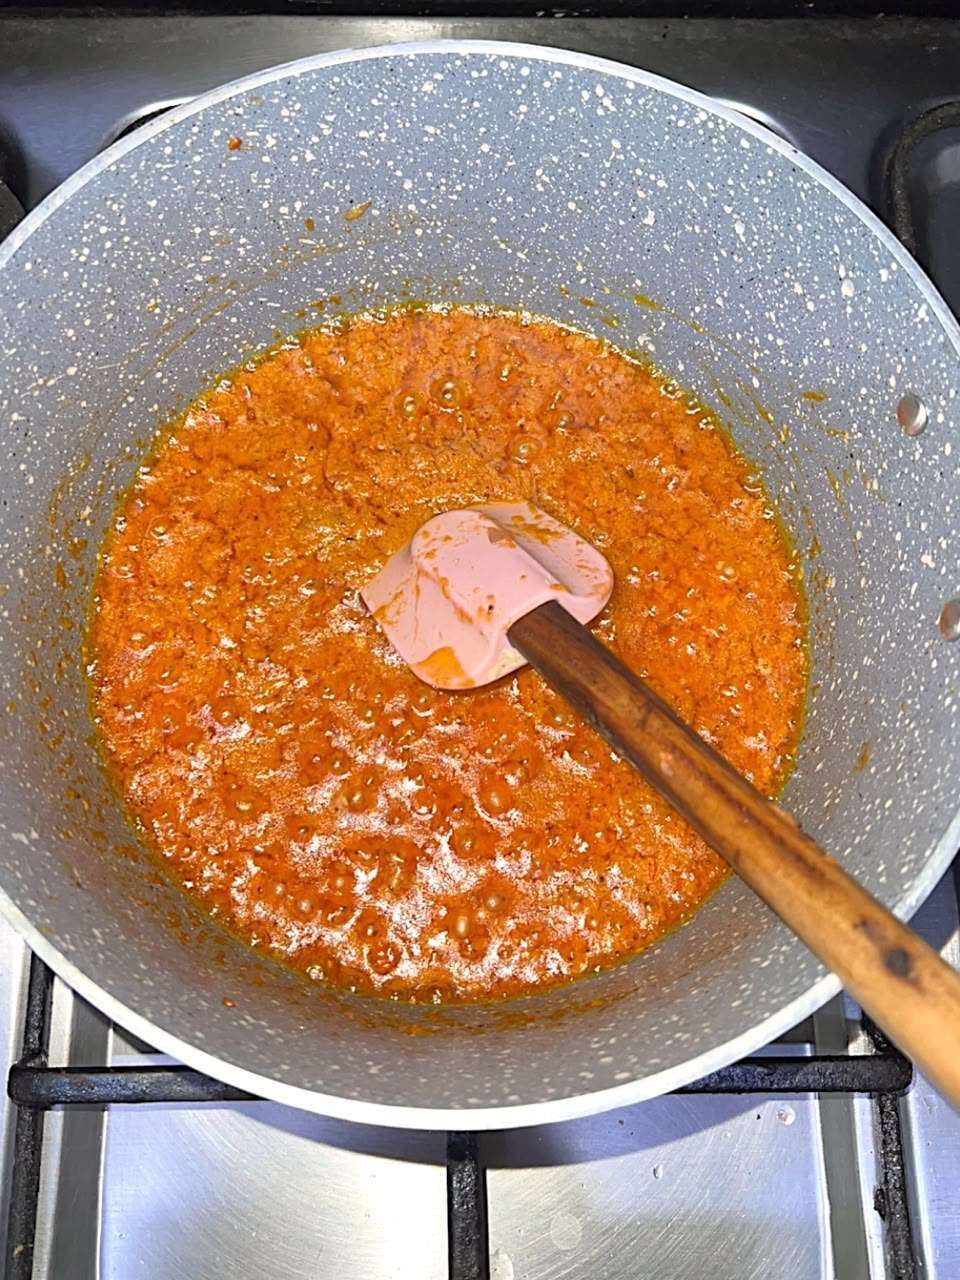
Pour the onion and tomato puree back into the pan and give a good stir.
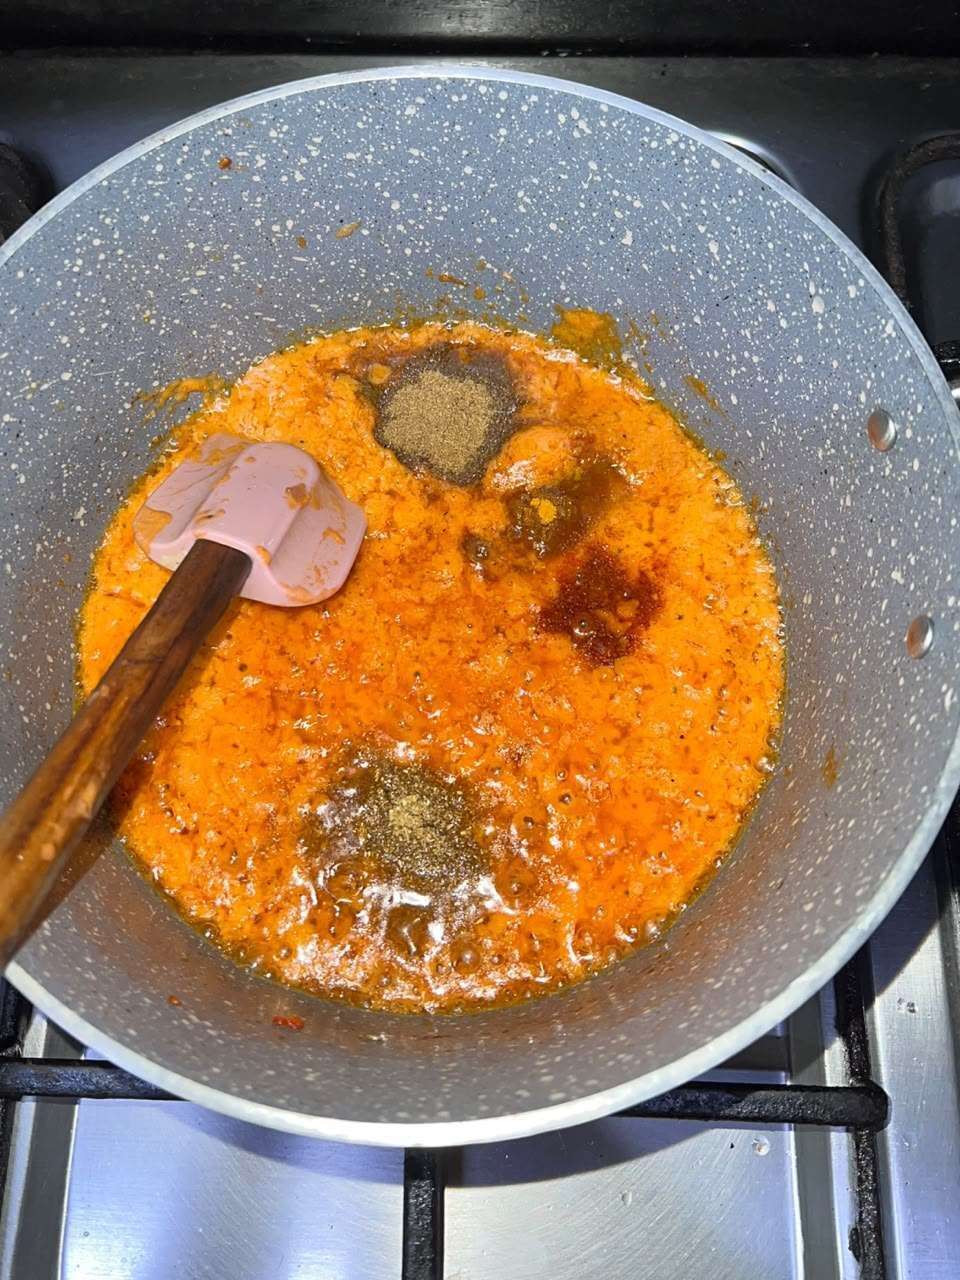
Now add the salt, red chili powder, turmeric, coriander powder, and cumin powder. Mix everything well and cook the masala for another minute.
Step 5:
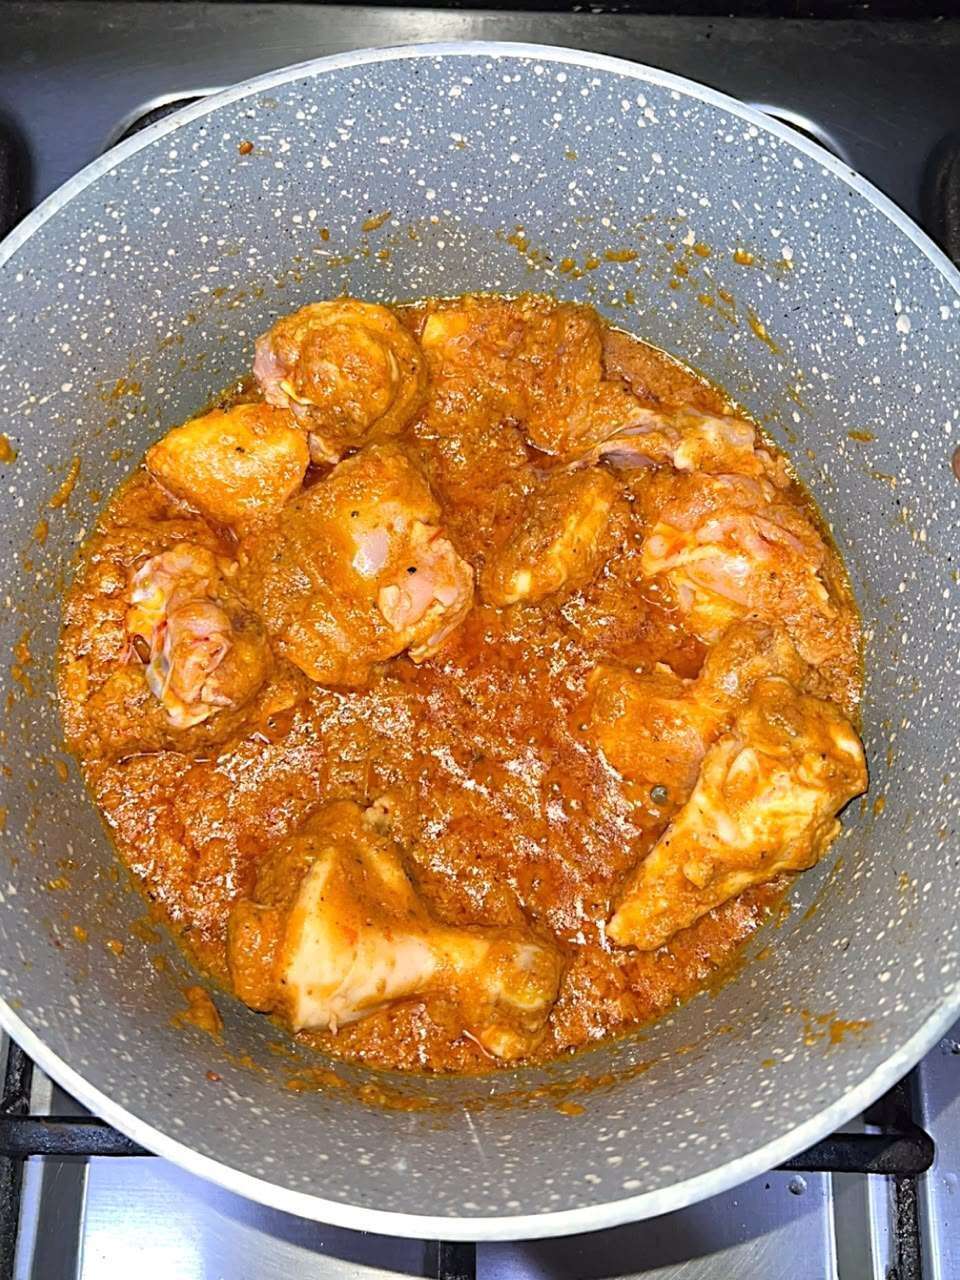
Add the chicken and stir well until every piece is coated in the masala.
Cook the chicken for 5–7 minutes, stirring occasionally, until the oil starts to separate and the chicken is nicely coated with the spices. This is one of the most important steps, so don’t rush it. The better you fry the chicken with the masala, the richer and more flavorful your curry will be.
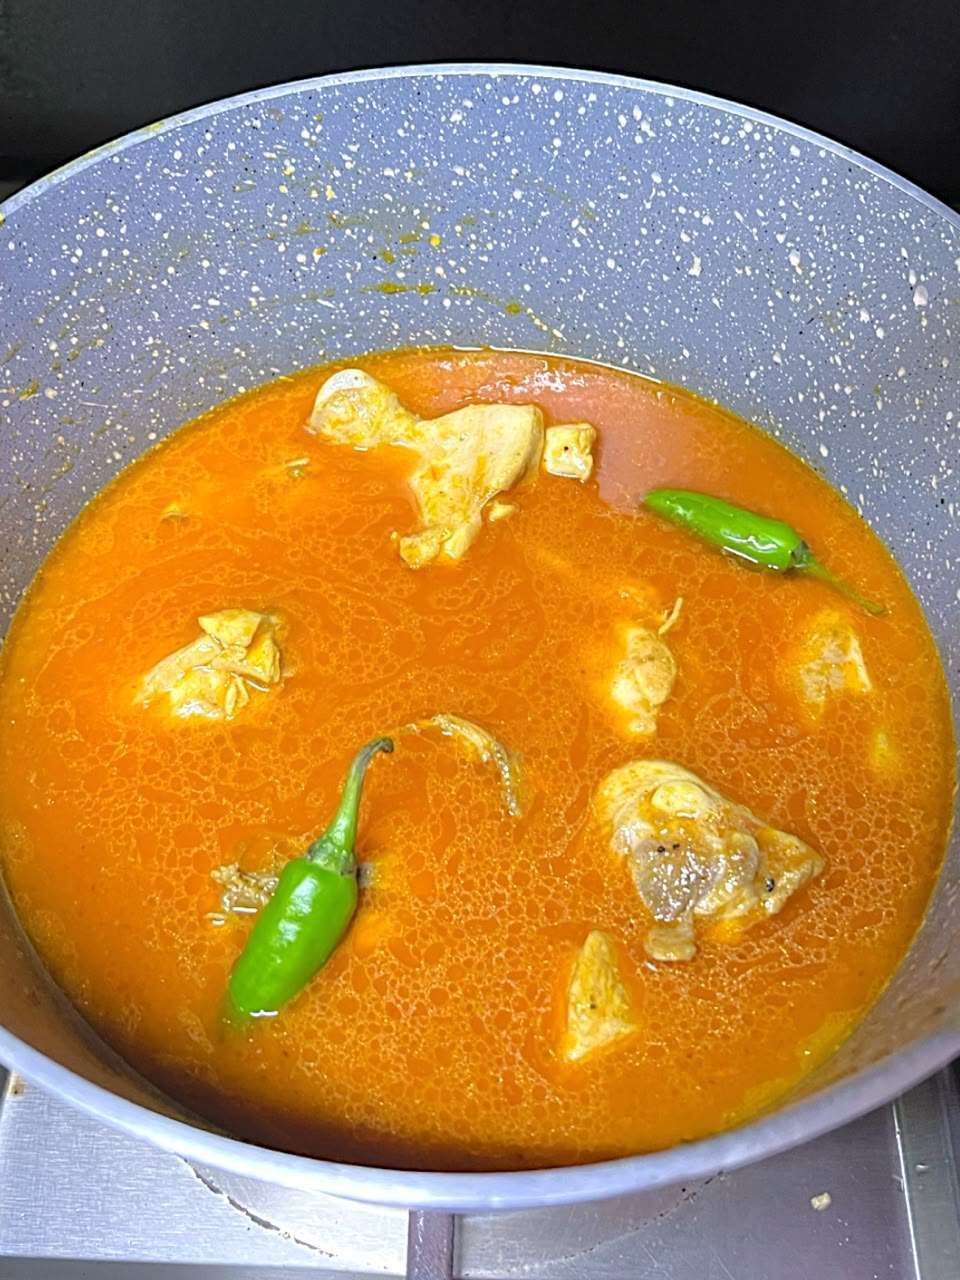
Pour in about 2½ cups of water, or enough to cover the chicken. Cover the pan with a lid and let it cook over medium-low heat for 12–15 minutes, or until the chicken is fully cooked and tender.
Step 6:
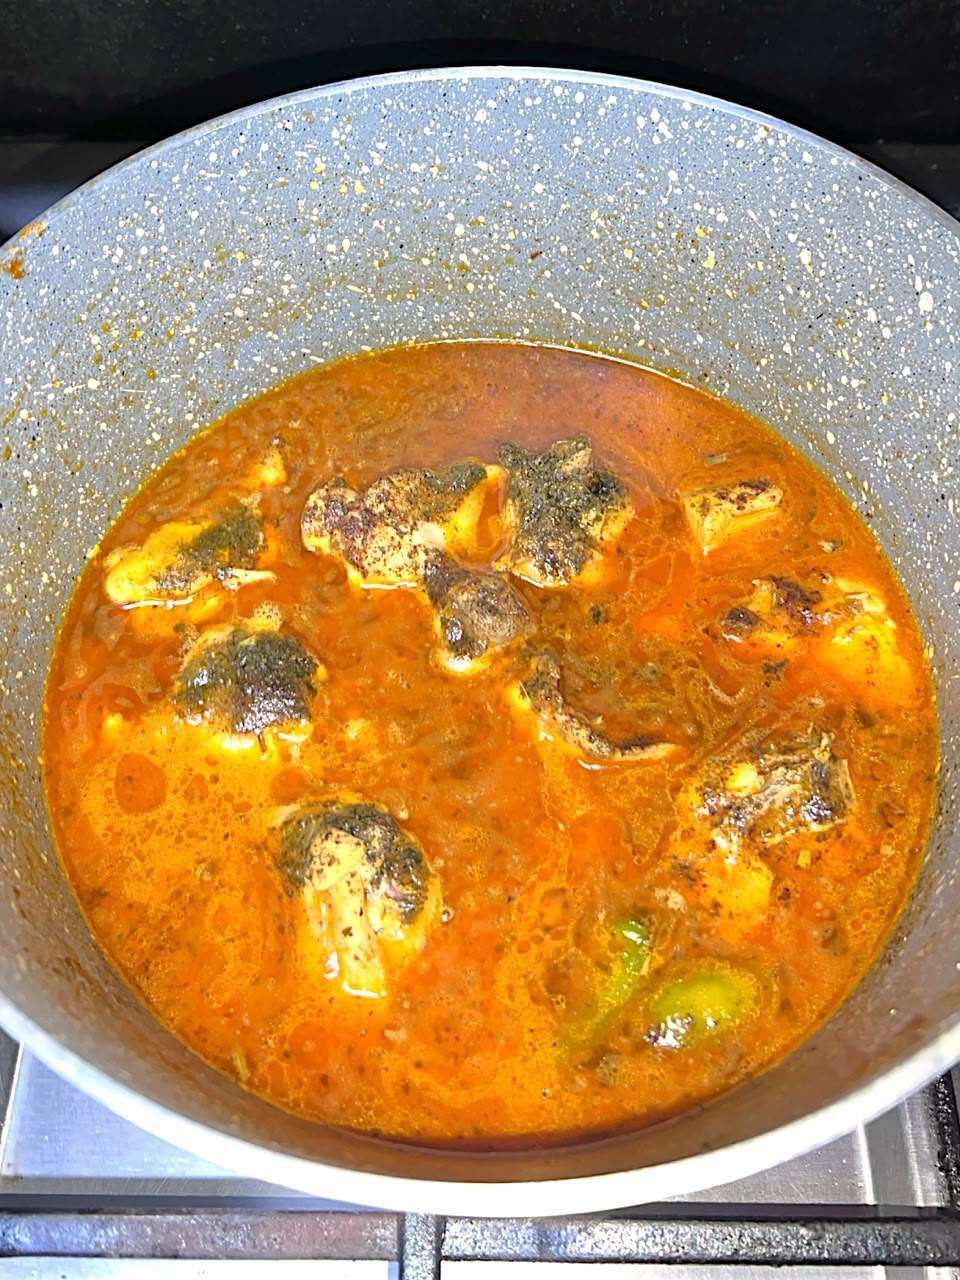
Remove the lid and sprinkle in the kasuri methi and garam masala powder. I always add these at the end because they keep their aroma and give the curry its signature flavor without changing the color of the gravy.
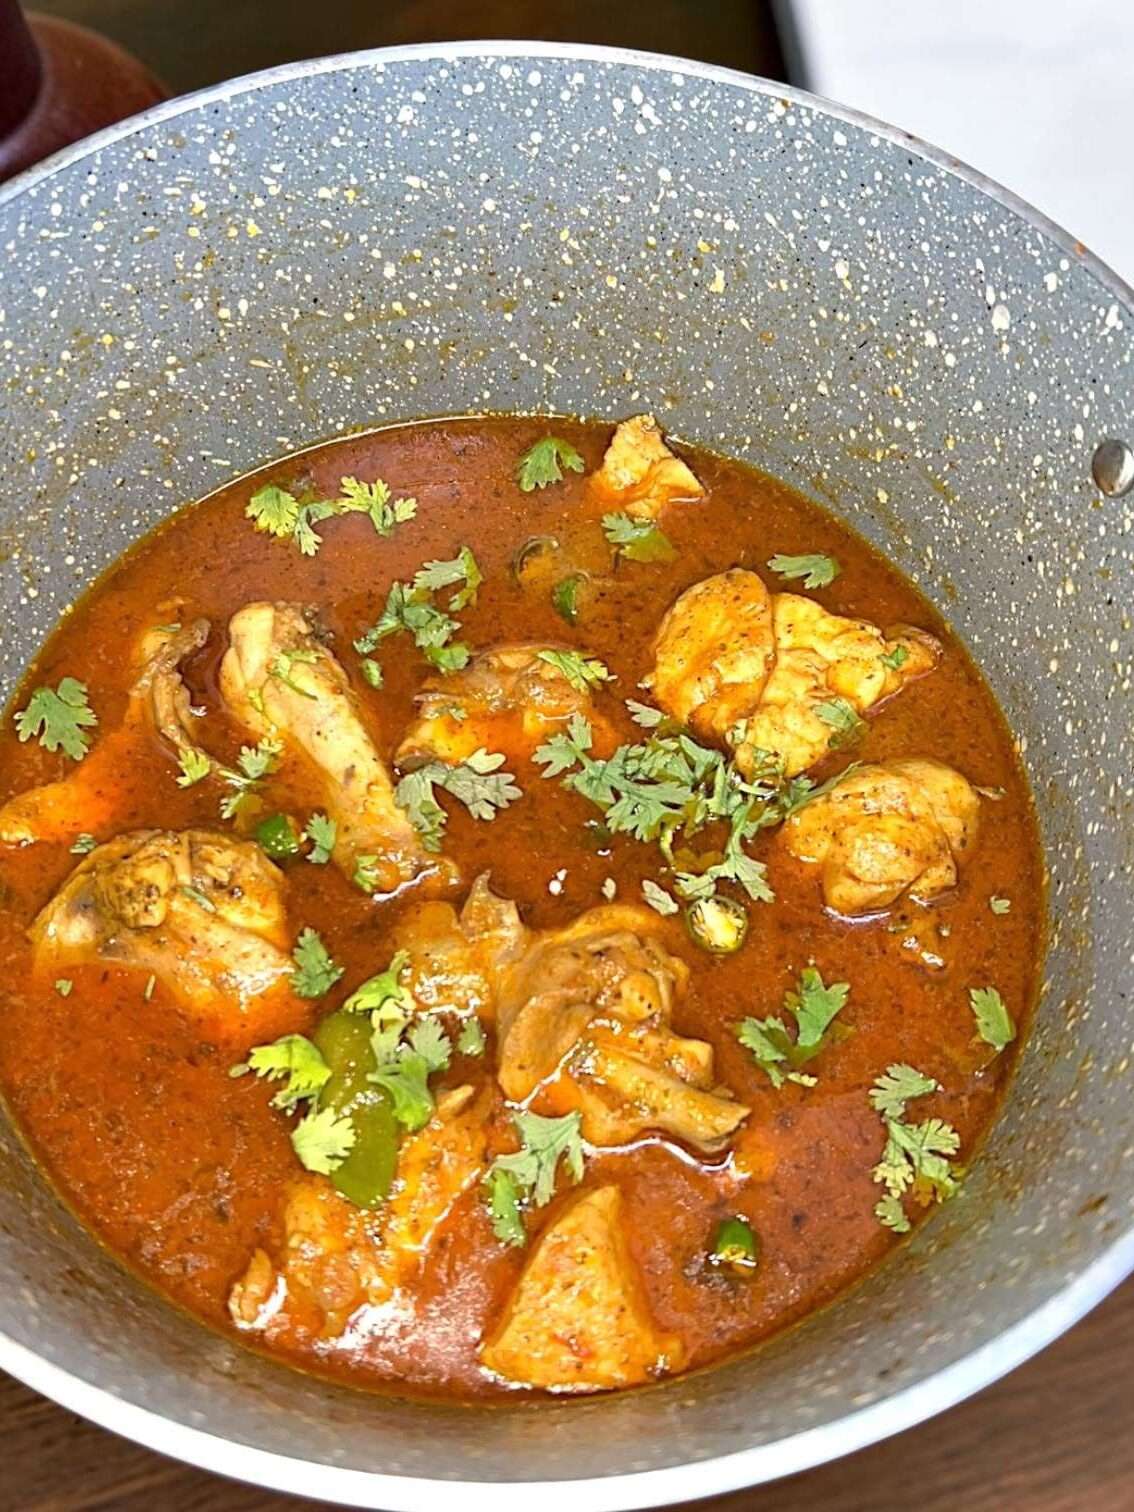
Finish off by garnishing with fresh coriander and green chilies. If you like, you can also add some julienned ginger (totally optional)
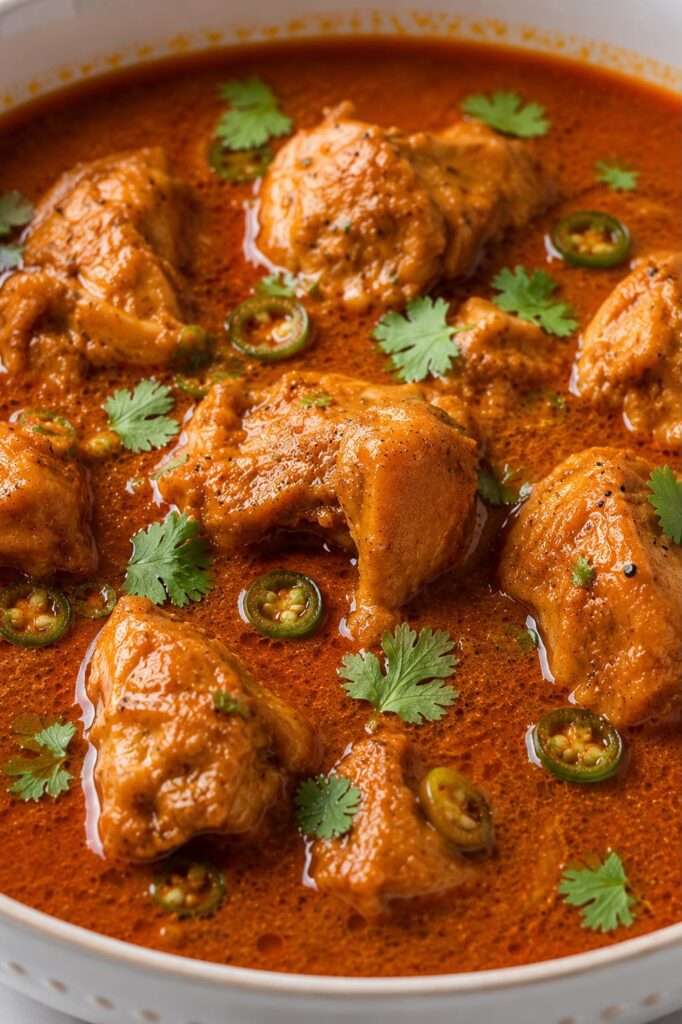
How To Get A Smooth Gravy
One of the most important things about this curry is getting the gravy just right. It shouldn’t be too thin like a yakhni, and it shouldn’t be too thick like Chicken Karahi. The gravy should be smooth, rich and pourable.
The easiest way to achieve this is by blending the cooked onions and tomatoes until smooth before adding them back to the pan. This gives the curry its signature texture.
If you don’t have a blender, you can simply chop the onions as finely as possible and use ripe, juicy tomatoes. Cover the pan with a lid while the tomatoes cook so they become soft and break down easily.
These small steps make a big difference and help you get a smooth, flavorful gravy every time.
Expert Tips
- Blend the cooked onions and tomatoes until smooth. This is the secret to a rich, silky gravy, so I wouldn’t recommend skipping this step. If you don’t have a blender, simply chop the onions very finely and cook the tomatoes until they’re completely soft.
- Use small, bone-in curry-cut chicken pieces. Smaller pieces cook evenly and absorb the spices better, while the bones add extra flavor to the gravy, making the curry much richer.
- Take your time with the bhunai. Fry the chicken with the masala until the oil starts to separate. This is where most of the flavor develops, so don’t rush this step.
- Get the gravy consistency just right. A good Chicken Salan should have a smooth, pourable gravy. It shouldn’t be too thin like yakhni or too thick like a karahi.
- Cook over medium heat. Avoid high heat, as it can burn the spices before they have a chance to cook properly. Medium heat helps the flavors develop while keeping the chicken tender and juicy.
Turn It Into Aloo Chicken
If you’d like to make Aloo Chicken, it’s really easy. There are two ways to do it, but I highly recommend the first method for the best flavor.
Method 1 (Recommended)
This is the method I always use because the potatoes cook along with the chicken and soak up all flavors from the curry.
Once you add the chicken to the onion and tomato gravy, peel and wash one medium potato. Cut it into four large pieces and add it to the pan with the chicken. As the curry cooks, the potatoes will become tender and absorb all the flavors from the gravy.
Method 2
If you’ve already finished making the chicken curry and later decide to add potatoes, don’t worry, you still can.
Peel and wash one medium potato, then boil it in salted water for 15-20 minutes, or until it’s just fork-tender. Cut it into four large pieces and add them to the curry during the final few minutes of simmering. This gives the potatoes enough time to absorb curry’s flavor.
This method works well if you forgot to add the potatoes earlier. However for the best flavor and texture, I always recommend the first method, where the potatoes cook with the chicken right from the beginning.
What To Serve With Pakistani Chicken Curry
It goes really well with white rice or any Pakistnai rice dishes. The rich gravy tastes so good with rice.
It’s one of my favorite chicken dishes to serve with fresh roti , some salad and tamatar ki chutney, that makes a simple and satisfying complete meal.
Frequently Asked Questions
Can I use boneless chicken for this recipe?
Yes, you can use boneless chicken if that’s what you have. However I highly recommend using bone-in chicken whenever possible. As the chicken cooks, the bones release extra flavor into the curry, giving the salan a much richer and more authentic taste.
Why is my chicken curry too watery?
There are a few reasons why your curry might turn out watery. You may have added too much water, or the curry may not have been cooked long enough to reduce. It can also happen if the onions and tomatoes weren’t cooked properly before adding the chicken.
To avoid this, add the water gradually and let the curry simmer until the gravy reaches your desired consistency.
How can I make the gravy thicker?
If your curry is thinner than you’d like, simply let it simmer uncovered for a few extra minutes until some of the liquid evaporates.
A smooth onion and tomato puree also helps create a naturally thicker gravy, so I always recommend blending them before adding them back to the pan.
Can I make this recipe without yogurt?
Yes, you can. Yogurt helps bring the gravy together and adds a mild tang that balances the flavors. If you don’t have it or prefer to skip it, you can simply leave it out.
Which cut of chicken works best for this recipe?
You can use any bone-in chicken cut for this recipe, including wings, thighs, drumsticks, or a mix of curry-cut pieces. I personally prefer bone-in chicken because it gives the curry a richer, more flavorful gravy.
Pakistani Chicken Curry (Chicken Salan)
4
servings10
minutes40
minutes330
kcal50
minutesIngredients
500 g (½ kg) bone-in chicken
½ cup oil or ghee
4 –5 black peppercorns
2 green cardamoms
1 bay leaf, whole or crushed
1 large onion, finely chopped
2 large ripe tomatoes, chopped
1 tbsp ginger garlic paste
1 tsp salt, or to taste
½ tsp turmeric powder
1.5 tsp coriander powder
½ tsp Kashmiri red chili powder, or adjust to your preferred spice level
2 to 2½ cups water, or as needed to achieve your preferred gravy consistency
1 tsp kasuri methi (dried fenugreek leaves)
1 tsp garam masala powder
2 whole green chilies
- Garnish
Fresh coriander (cilantro), chopped
1 –2 green chilies, sliced
1 -inch piece of ginger, cut into thin juliennes (optional)
Directions
- Heat the oil in a large pan over medium heat. Add the finely chopped onions and cook until they turn light golden brown. Stir in the ginger garlic paste and cook for another 30–60 seconds until the raw smell disappears.
- Add the chopped tomatoes and cook for about 2 minutes. Cover the pan with a lid and let them soften for another 2–3 minutes. Once they’re soft, transfer the onions and tomatoes to a blender (or use a hand blender) and blend until completely smooth.
- In the same pan, add the black peppercorns, one green cardamom, and crushed or whole bay leaf, to the remaining oil. Let the whole spices sizzle for about a minute until fragrant. Pour the onion and tomato puree back into the pan and mix well.
- Add the salt, red chili powder, turmeric, coriander powder, and cumin powder. Cook the masala for about a minute, then add the chicken. Mix well so every piece is evenly coated with the masala.
- Fry the chicken for 5–7 minutes, stirring occasionally, until the oil starts separating and the chicken is well coated with the spices. Don’t rush this step, as it’s what gives the curry its rich flavor.
- Pour in about 2½ cups of water, or enough to cover the chicken. Cover the pan with a lid and let the curry cook over medium-low heat for 12–15 minutes, or until the chicken is fully cooked and tender.
- Once the chicken is cooked, add the green chilies and let the curry simmer for another 2–3 minutes. Finally, sprinkle in the kasuri methi and garam masala powder. Adding them at the end keeps their aroma fresh and gives the curry its signature flavor.
- Turn off the heat and garnish with freshly chopped coriander, sliced green chilies, and julienned ginger if you like. Serve hot with roti, naan, or steamed rice.
)